Guides › Print a photo to scale
How to Print a Photo to Scale Across Multiple Pages
"To scale" means the printout matches a real-world measurement exactly — a 30 cm object prints 30 cm wide. Here's how to do that across as many pages as the size requires.
Why scale matters
Printing software usually scales an image to "look right" on the page, which throws off real dimensions. For patterns, templates, and technical prints you need the opposite: a guaranteed true size, no matter how many sheets it spans. The trick is to calibrate the image to a known length first, then let the tiling math follow from that.
Step by step
- Open the photo in Maker Mosaic.
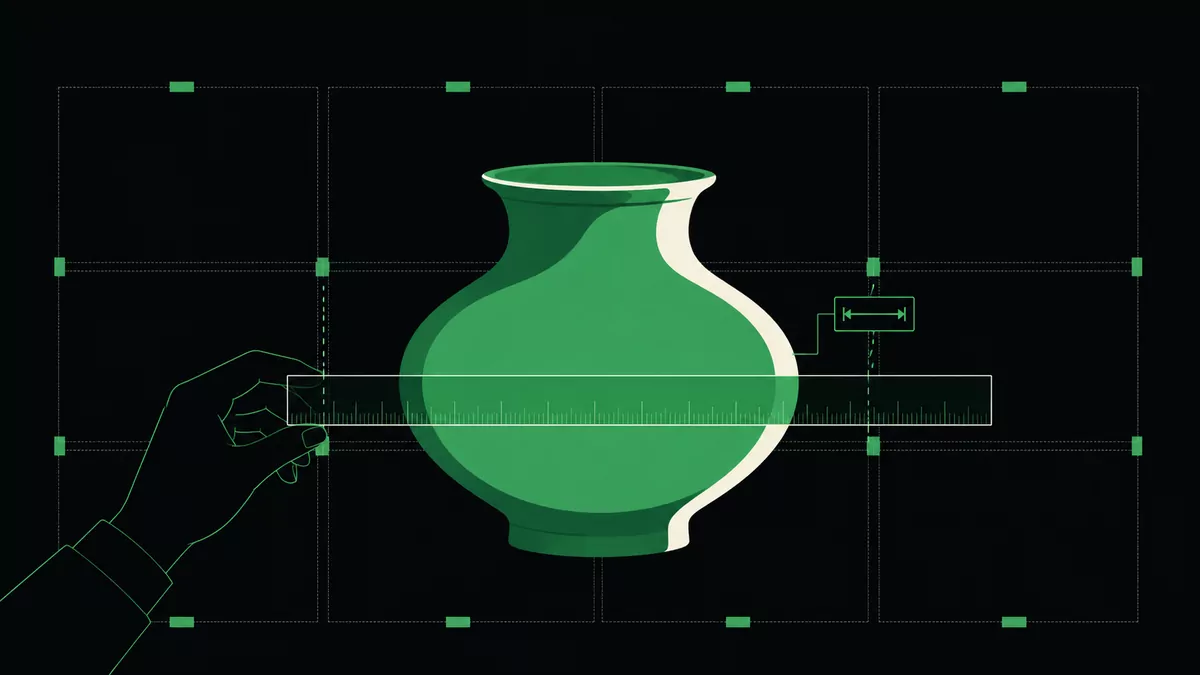
- Set the scale. Pick the Measure tool, drag a line over something whose real length you know (a ruler in the shot, a door, a known object), and enter that length. Metric and imperial both work, including fractions like
5 1/2 in. - Pick paper and DPI. Letter, A4, or A3; 150 DPI for drafts, 300 for crisp detail.
- Set the overlap. An overlap margin duplicates a strip of the image on adjacent pages so you can align and trim.
- Preview the page grid. The canvas shows dashed page boundaries and the overlap zones; the strip below shows each page thumbnail.
- Export as a multi-page PDF or a ZIP of PNGs.
- Print at 100% / actual size — never "fit to page."
Measuring accurately
- Measure the longest known length available; longer reference lines reduce error.
- If your photo has perspective distortion, scale will only be exact in the plane you measured — shoot reference photos straight-on.
- You can switch display units any time; everything is stored internally in millimetres.
FAQ
What units are supported?
Millimetres, centimetres, metres, inches, and feet — including imperial fractions.
Will the print be exactly to scale?
Yes, as long as you print at 100% / actual size and your reference measurement was accurate.
Do you upload my photo?
No. All processing happens locally in your browser.